
What Is Paper Mache Recipe?
Paper mache combines strips of paper with an adhesive paste, such as flour and water or glue, to form a hardened object. Over time, people have used it for many purposes, ranging from practical items to artistic sculptures. Therefore, paper mache is ideal for those who want a lightweight yet durable crafting material.
For a better understanding of the different pastes, you can check out additional methods to see what best fits your needs.
Basic Materials You’ll Need for Paper Mache Recipe
To get started, here’s a list of simple materials you’ll need:
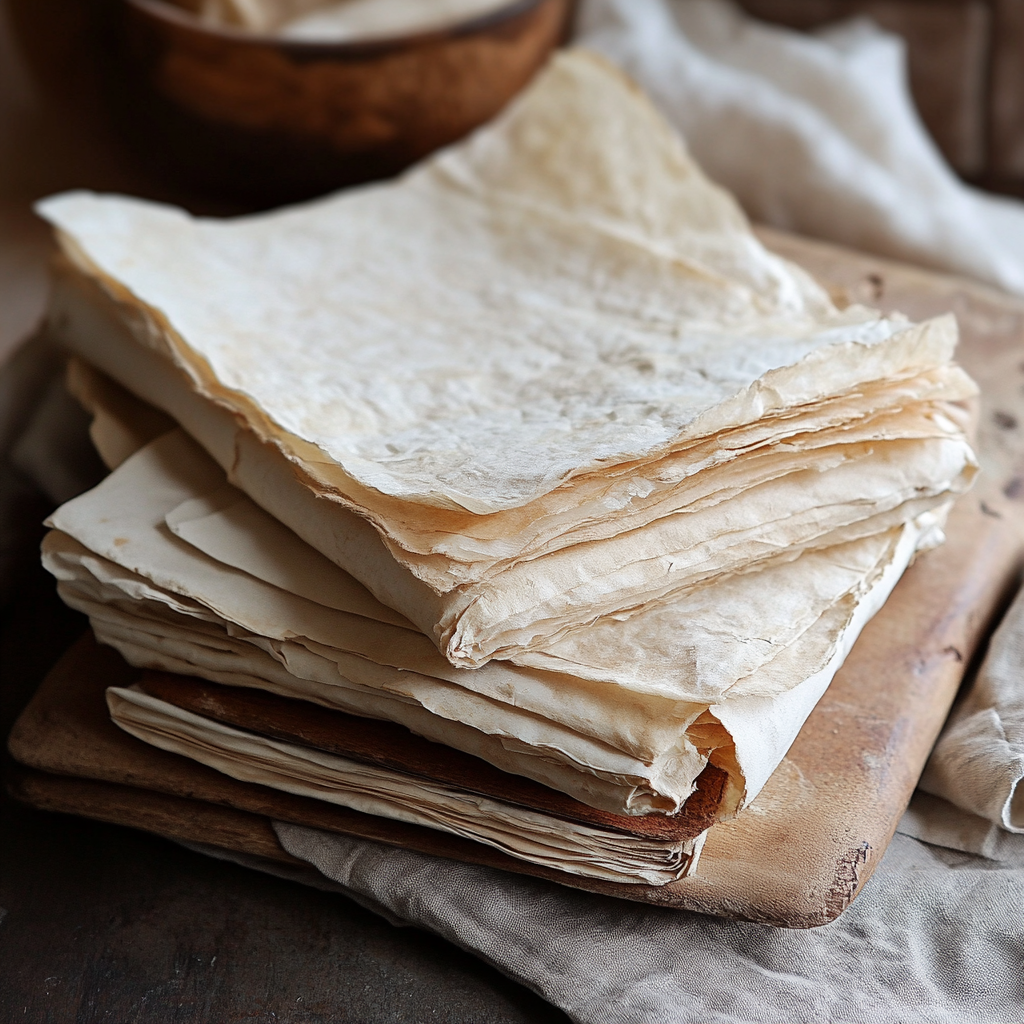
- Paper: Newspaper, paper towels, or scrap paper.
- Adhesive Paste: Choose between a flour and water paste or a stronger glue-based paste.
- Form: You can use balloons, cardboard, or other objects to shape your project.
- Optional Add-ins: Some people add salt to prevent mold, while others mix in cinnamon to reduce the paste’s smell.
How to Make Flour-Based Paper Mache Recipe Paste
The flour-based method is one of the easiest and most affordable options for creating paper mache. Here’s how you can make it:
- Mix the Paste: First, combine 1 part flour and 2 parts water in a bowl. Stir until the mixture becomes smooth.
- Adjust the Consistency: Next, check if the paste has the right consistency, similar to pancake batter. You can add more water or flour to adjust as needed.
- Prevent Mold: Afterward, stir in a few tablespoons of salt to help prevent mold growth.
- Use Immediately: Lastly, it’s best to use the paste right away, though you can store leftovers in the fridge for a short time.
For stronger or long-lasting projects, you might want to try a glue-based paste, which we’ll cover next.
Alternative: Glue-Based Paper Mache Recipe
On the other hand, using a glue-based paste results in a stronger and more durable project. Here’s how to create it:
- Mix Glue with Water: Start by combining equal parts white PVA glue (like Elmer’s) and water.
- Stir Thoroughly: Ensure the mixture is fully dissolved and smooth.
- Apply to Paper Strips: Use this mixture similarly to the flour paste, dipping each paper strip into the glue before applying it to your project.
Glue-based paper mache works particularly well for projects that require durability, especially for larger sculptures.
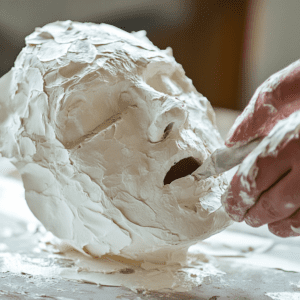
Step-by-Step Guide for Applying Paper Mache Recipe
Now that your paste is ready, you can follow these steps to apply paper mache:
- Tear Paper into Strips: First, rip the paper into 1-2 inch strips for smoother application. Tearing helps the strips blend seamlessly on the surface.
- Dip Paper in Paste: Next, immerse each strip in the paste, then run it through your fingers to remove any excess.
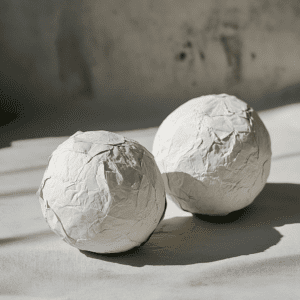
- Apply to Form: Layer the strips over your chosen form (such as a balloon or bowl). Make sure to overlap the strips to create a sturdy base. Typically, 3 layers are ideal for most projects.
- Dry Completely: Afterward, allow each layer to dry fully before adding the next. Depending on the thickness of the layers, drying could take up to 24 hours.
Repeat the process until your project reaches the desired thickness and strength. Always ensure each layer dries thoroughly before proceeding.
Creative Paper Mache Ideas
Once you’ve mastered the basic technique, there are countless ways to explore paper mache projects. Here are some creative ideas to inspire you:
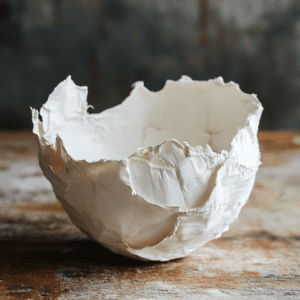
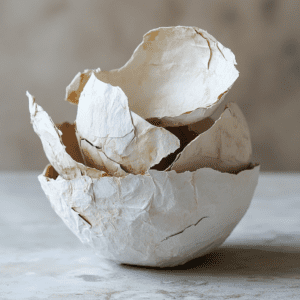
- Bowls and Containers: These are perfect beginner projects, offering both functionality and decoration.
- Masks: Great for costume parties, school plays, or children’s crafts.
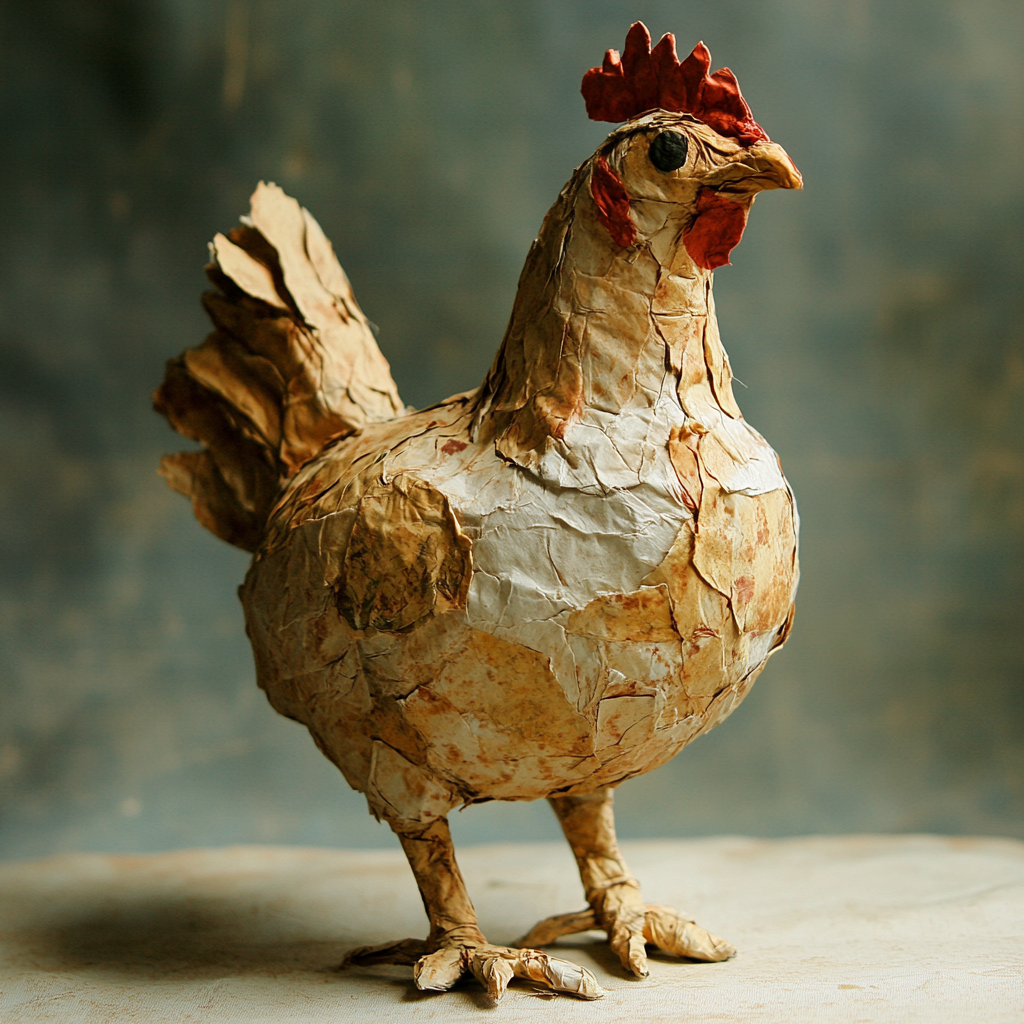
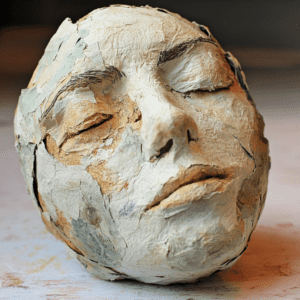
- Sculptures: You can create animals, abstract shapes, or personalized decor items for your home.
As you become more comfortable with the craft, you’ll discover that the creative possibilities are endless.
Tips for a Professional Finish
Here are some expert tips to help you achieve a polished and professional finish:
- Sanding: If the surface is rough after drying, lightly sand it to smooth out bumps and imperfections.
- Seal with Gesso or Varnish: Applying gesso before painting will smooth the surface and make the paint more vibrant. Afterward, seal the project with varnish to protect it.
- Use Quality Paints: Acrylic paints work best for paper mache, as they provide excellent coverage. You might also experiment with oil paints for a unique finish.
Want to try more creative DIY recipes? Give our Cottage Cheese Recipes a look for some culinary crafting inspiration, or explore our Skinny Margarita Recipe for a refreshing beverage to enjoy while crafting.
FAQs
- How long does paper mache take to dry?
Each layer requires approximately 24 hours to dry completely. - How many layers of paper should I apply?
Most projects need at least 3-4 layers to be strong and durable. - Can I make paper mache without newspaper?
Yes, you can use other types of paper, such as construction paper, tissue paper, or even paper towels. - What kind of paint works best on paper mache?
Acrylic paint is the best option for its durability and ease of use.
Conclusion
In conclusion, paper mache is a versatile and enjoyable craft that is accessible to all skill levels. With just a few basic materials like flour, water, or glue, you can create beautiful projects, from simple bowls to intricate sculptures. As long as you allow each layer to dry fully and use quality materials, your creations will turn out amazing. Now, it’s time to get started and bring your paper mache ideas to life!